Installation
IMPORTANT: This equipment is not suitable for use in locations where children are likely to be present.
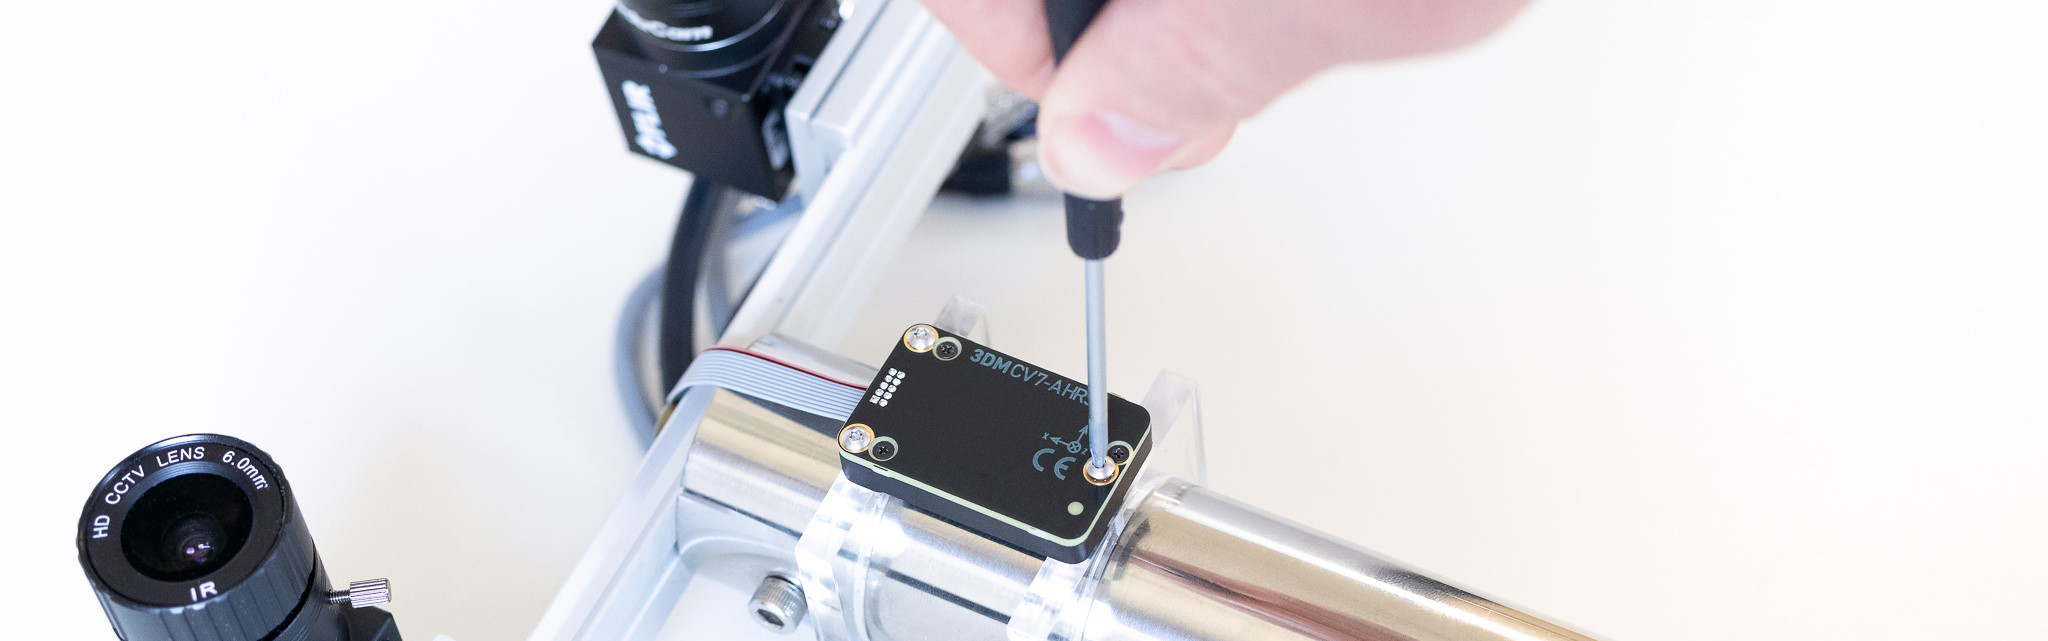
Mount the 3DM-CV7
Mechanical provides dimensions and tolerances as well as cabling and connector specifications and part numbers.
IMPORTANT: Do not over-torque while mounting. It is strongly recommended to not apply in excess of 2 in*lbs of torque. Over-torquing may damage unit or reduce sensor performance.
If using the foam isolation mount, see the Foam Isolation Mount page for detailed instructions.
Properly Power the 3DM-CV7
 WARNING:Only use power supplies within the operating range of the sensor, or permanent sensor damage or personal injury could result. Observe connection polarity.
Power must be supplied to the 3DM-CV7 via pin 3. See Electrical for pinout and input voltages.
Apply the Proper Mounting Transform
In its default state, the labeled axes of the 3DM-CV7 are assumed to be aligned with the vehicle frame (X axis in the direction of travel, Z axis down). If the device is mounted in an orientation where the sensor frame axes are not aligned to the vehicle axes, then a sensor-to-vehicle transform must be applied to correct for this misalignment. See the Vehicle Frame section for details on applying this transformation.
Perform a Magnetometer Calibration
If a magnetometer is being used as a heading aiding measurement, a magnetometer calibration with the 3DM-CV7 installed in the application and after all other components have been installed is crucial in ensuring accurate heading measurements. See Magnetometer Calibration for details on performing this calibration using our convenient desktop application, SensorConnect.
IMPORTANT: Features requiring a magnetometer are only available on device models with magnetometers. See Product Description to verify that your device has a magnetometer.